In this guide, we’ll look at how to register vehicles to your Smart Parking account using the Smart Parking web portal. Note: this guide walks you through the steps on a computer, but the process is the same on a mobile device.
To begin, access the “My Vehicles” tab, either from the dashboard or the menu on the left side of the screen.

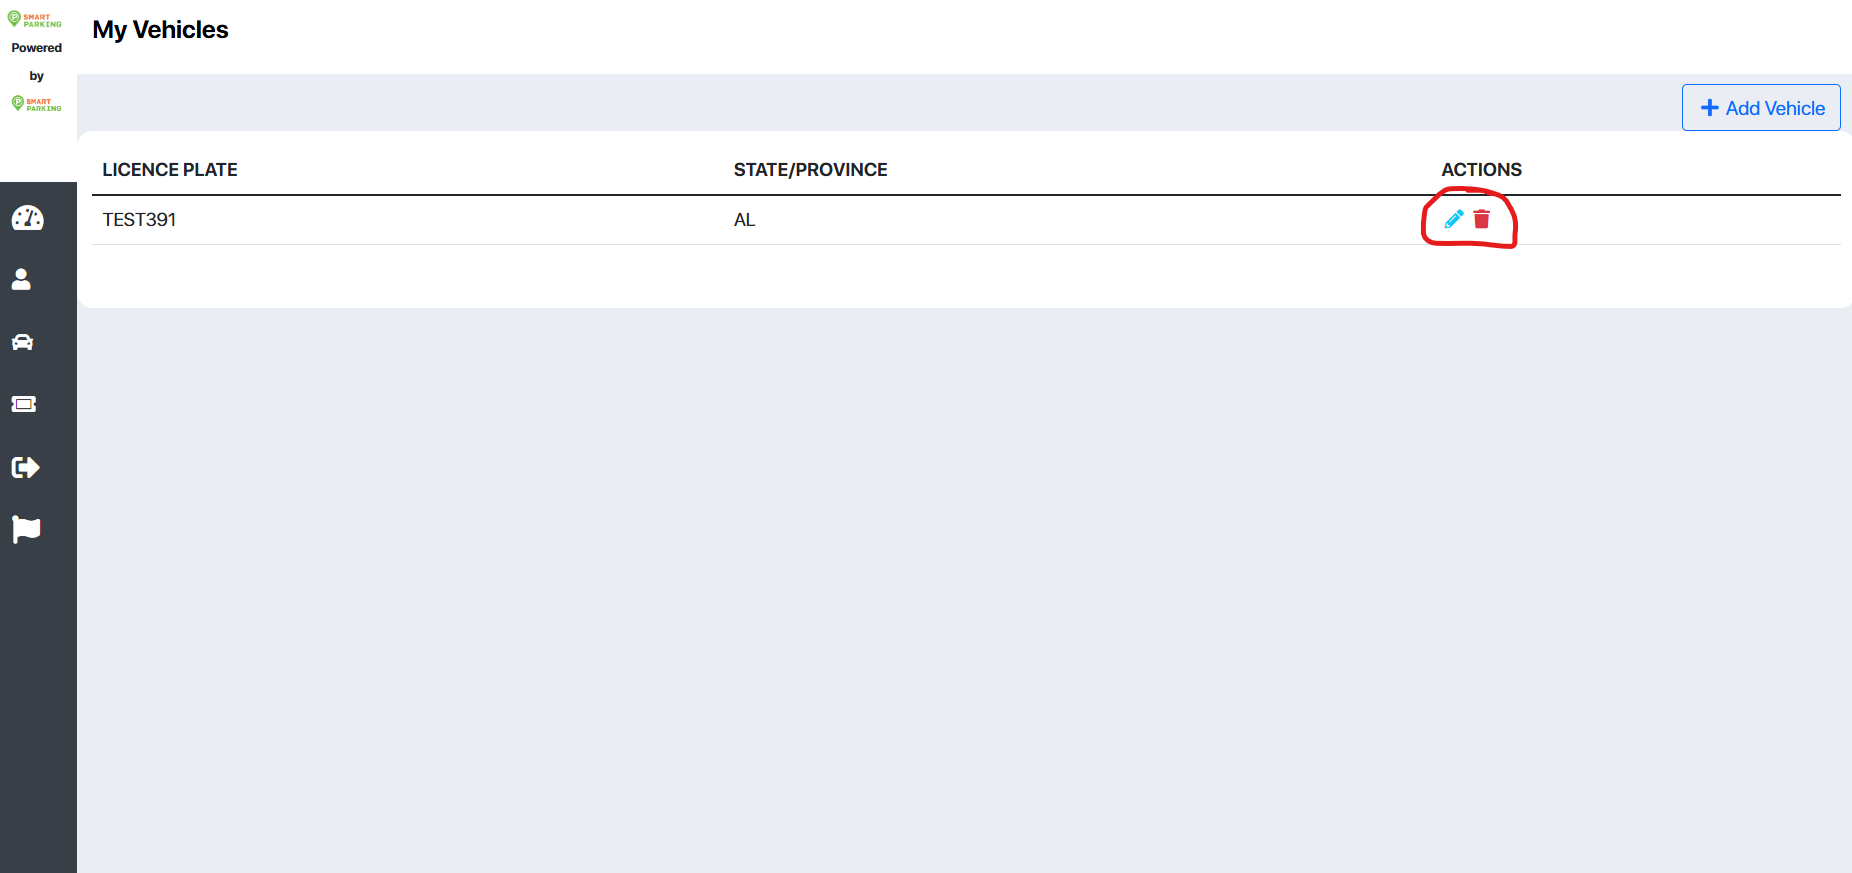
Doing this will bring you to a page which displays a list of all of your registered vehicles, if any. This list will display some basic information about your vehicle like its license plate number and state.
To register a new vehicle to your account, click on the blue “Add Vehicle” button in the top right corner of the screen.

This button will prompt you to fill out a short form with information about your vehicle like its licence plate, state, make, model, and colour. Make sure this information is correct, as enforcement teams will use this information when verifying that all vehicles parked in a lot are permitted to do so.
Once you’ve filled out this form and verified the information, press “Submit” to see your new vehicle listed among your other vehicles.

If you want to manage an existing vehicle instead of creating a new one, use either the blue pencil or red trash can action buttons to the right of the specific vehicle you want to manage in order to edit or delete it respectively. Editing a vehicle will bring up the same form seen earlier in this guide, whereas deleting a vehicle will remove it from your account entirely. Deleting a vehicle is permanent and irreversible.